
How to Download and Use VS Code for HTML: A Step-by-Step Guide

Introduction
In our previous blog, "Getting Started with HTML: A Beginner's Guide," we introduced the basics of HTML and how to begin your journey in web development. Now, let's dive deeper into setting up a powerful code editor to enhance your HTML development experience. Visual Studio Code (VS Code) is a favorite among developers due to its rich features, flexibility, and ease of use. This guide will help you download, install, and set up VS Code specifically for HTML development.
Step 1: Downloading VS Code
- Visit the VS Code Website:
- Go to the VS Code download page.
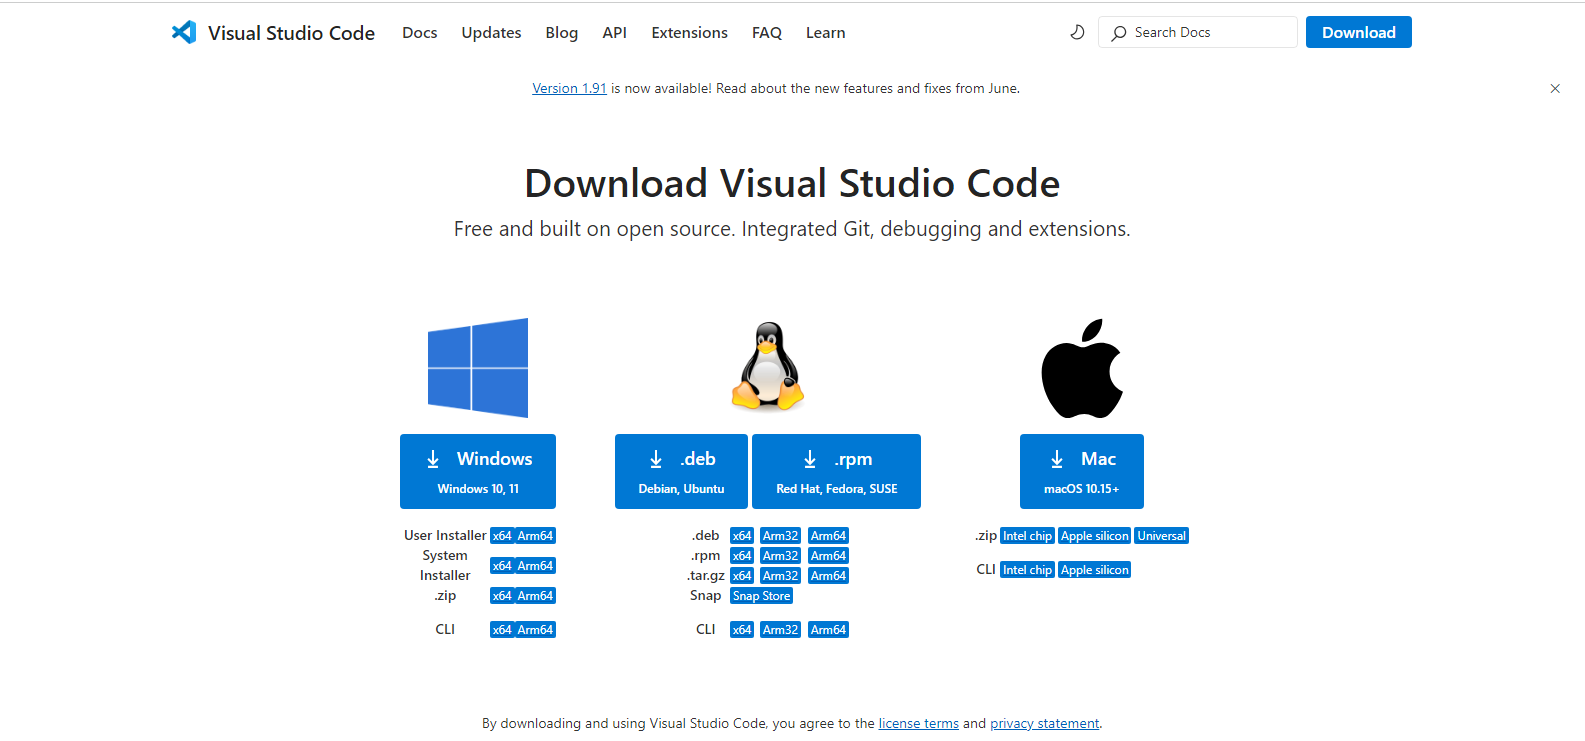
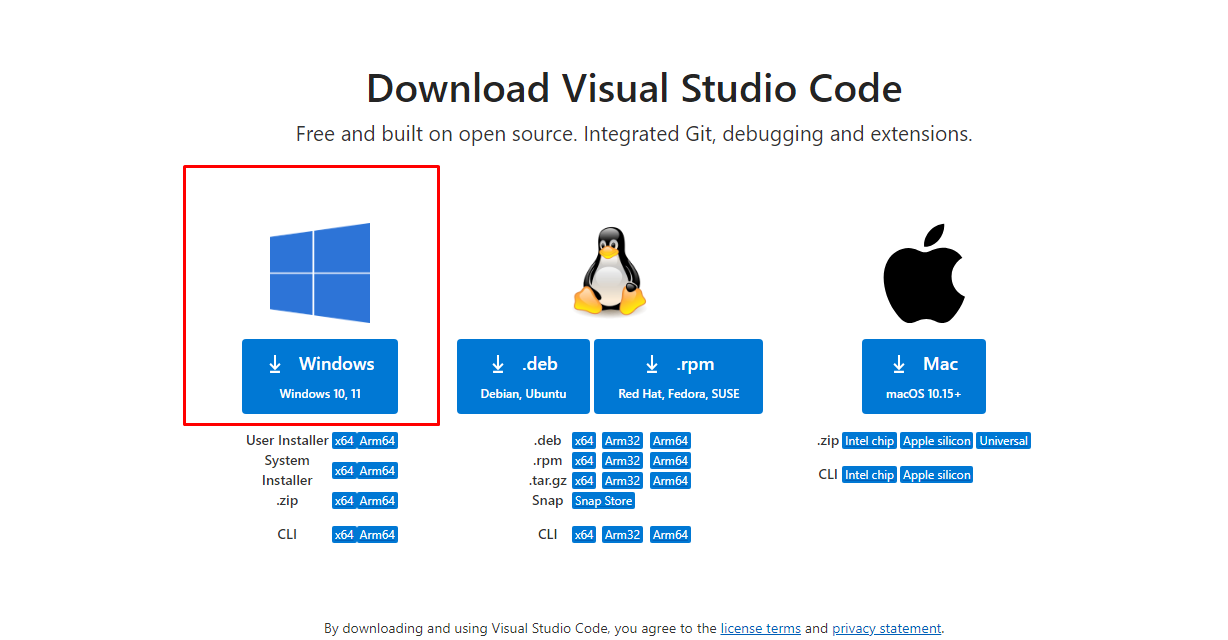
- Choose Your Operating System:
- Select the version of VS Code compatible with your operating system (Windows, macOS, or Linux).
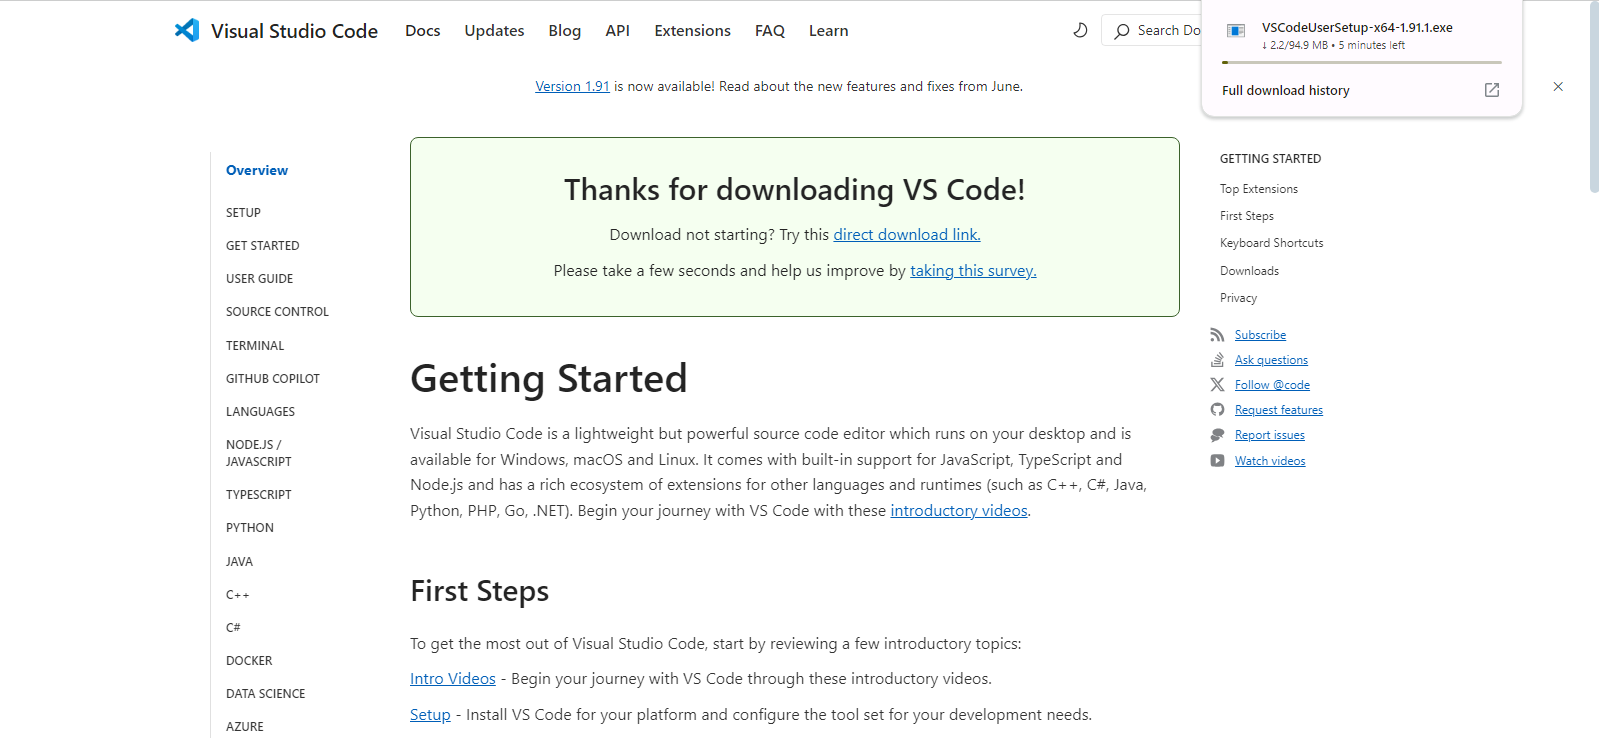
- Download the Installer:
- Click the appropriate download button to get the installer for your OS.
Step 2: Installing VS Code
For Windows:
- Run the Installer:
- Locate the downloaded installer file (usually in your Downloads folder) and double-click to run it.
- Accept the Agreement:
- Read the license agreement and click "I accept the agreement" if you agree.
- Select Destination Location:
- Choose the destination folder for the installation or use the default location.
- Select Additional Tasks:
- You can choose to add VS Code to your PATH (recommended) and create desktop icons.
- Install:
- Click "Install" and wait for the installation to complete.
- Launch VS Code:
- Check the option to launch VS Code after installation and click "Finish".
For macOS:
- Open the Downloaded File:
- Locate the downloaded .zip file and double-click to unzip it.
- Move to Applications Folder:
- Drag the unzipped VS Code application to your Applications folder.
- Open VS Code:
- Go to your Applications folder and double-click on Visual Studio Code to open it.
For Linux:
- Install Using Package Manager:
- Depending on your distribution, you can use the following commands:
- Debian-based (Ubuntu):
- Depending on your distribution, you can use the following commands:
sudo apt install ./<file>.deb· Red Hat-based (Fedora, CentOS):
sudo rpm -i <file>.rpm- Launch VS Code:
- Open your application menu and find Visual Studio Code to launch it.
Step 3: Setting Up VS Code for HTML
- Install HTML Extension:
- Open VS Code and click on the Extensions icon in the Activity Bar on the side of the window (or press Ctrl+Shift+X).
- In the search bar, type "HTML" and install the recommended extensions like "HTML Snippets" or "HTML Boilerplate".
- Create a New HTML File:
- Click on "File" > "New File" or use the shortcut Ctrl+N (Windows/Linux) or Cmd+N (macOS).
- Save the new file with a .html extension (e.g., index.html) by clicking "File" > "Save As" and typing the desired name.
- Start Coding:
- Begin writing your HTML code in the newly created file. VS Code will automatically recognize the file as HTML and provide syntax highlighting and autocomplete features.
Step 4: Using VS Code Features for HTML Development
- Emmet Abbreviations:
- Emmet is built into VS Code and provides shortcuts for writing HTML. For example, typing ! and pressing Tab will generate a basic HTML boilerplate.
- Live Server Extension:
- Install the "Live Server" extension by Ritwick Dey from the Extensions view.
- After installation, right-click on your HTML file and select "Open with Live Server" to launch a local development server. This will open your HTML file in a browser and automatically refresh it when you make changes.
- Integrated Terminal:
- Use the integrated terminal in VS Code by clicking "View" > "Terminal" or pressing Ctrl+` (backtick). This allows you to run commands without leaving the editor.
- IntelliSense:
- VS Code provides IntelliSense for HTML, which includes auto-completion of tags, attributes, and attribute values.
- Linting and Formatting:
- Install extensions like "Prettier" or "ESLint" for consistent code formatting and linting.
- Configure settings for these extensions by going to "File" > "Preferences" > "Settings" and searching for the extension's configuration options.
Conclusion
By setting up VS Code as your HTML development environment, you gain access to a robust set of tools that can significantly improve your coding efficiency and experience. Follow the steps in this guide to get started, and refer back to "Getting Started with HTML: A Beginner's Guide" for foundational knowledge.
Stay tuned for our next post, where we’ll dive deeper into HTML.
Happy coding
Author: Aryan Kumar is a web developer specializing in HTML, CSS, and JavaScript, working at Asecurity. Contact here (Instagram) : @aryan_geek .
#webdevelopment #html #css #javascript