
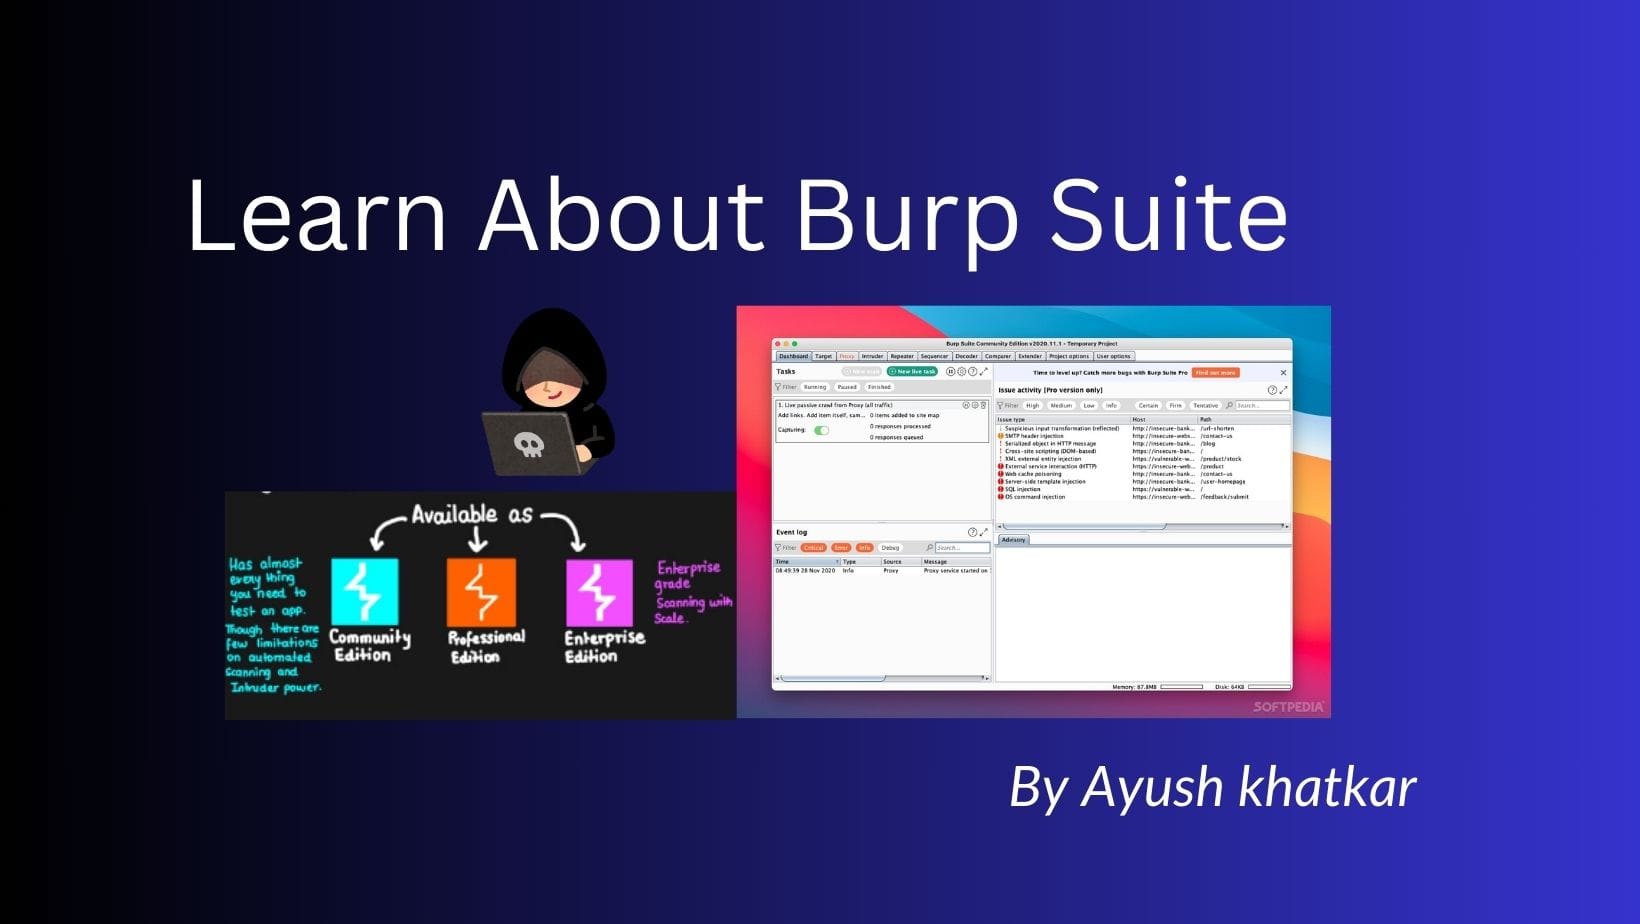
Learn About how to use Burp Suite

Let's see how to use this Burp Suite stuff and how to make money with it.
Installing a browser and proxy:
The basics
Bug bounty hunters use Burp Suite, a powerful tool, extensively to discover vulnerabilities in web applications. It is a group of technologies that combine to make the process of testing web applications for security flaws more efficient and automated. I will go over several tricks and strategies for using Burp Suite for bug bounty hunting.
Burp Suite can be used to intercept and modify HTTP/ HTTPS requests.
The browser will be used to examine the functionality of an application. Firefox is the easiest to set up with a proxy, so I suggest you use it. When hacking, you can also use two separate browsers: one to scan the target and one to look for online security holes. This way, you can quickly separate traffic related to your intended application for further analysis.
Software that acts as an intermediary between a client and a server is known as a proxy; in this case, the intermediary is your browser and the web servers it communicates with. It does this by intercepting both your requests and the server's responses before sending them to you.
For example:
Browser <--------------> Proxy <--------------> Server
It is imperative to use a proxy for bug bounty hunting. As I will describe later in this chapter, proxies allow you to view and modify the requests that are sent to the server and the responses that arrive at your browser. In the absence of a proxy, communication between the browser and the server would occur automatically and in secret; all that would be visible to you would be the finished web page. Alternatively, all messages would be intercepted by a proxy before they reach their intended destination.
Because of this, you can perform recon using proxies by examining and analyzing traffic entering and leaving the server. They also allow you to investigate intriguing requests to find any security holes and manipulate requests to exploit these weaknesses.
Let's take an example where you browse your email inbox and use a proxy to intercept the request that returns your email. This is a GET request directed to a URL containing your user ID.
GET /USER_ID HTTP/2
Host: test.vulnerable.com
Cookie: COOKIES
Accept: */*
Accept-Language: es-AR,es;q=0.8,en-US;q=0.5,en;q=0.3
Accept-Encoding: gzip, deflate, br
X-User-Agent: Visualforce-Remoting
Content-Type: application/json
X-Requested-With: XMLHttpRequest
Content-Length: 953
Dnt: 1
Sec-Gpc: 1
Sec-Fetch-Dest: empty
Sec-Fetch-Mode: cors
Sec-Fetch-Site: same-origin
Te: trailers
It also notes that the request contains a cookie containing your user ID: To determine if you can access another user's information in this situation, try changing the USER_ID in the URL to that of the other user. The server will probably accept the request and give you access to the object or it may send a direct 403 error, indicating that you cannot read that type of information.
Launching the Browser Embedded
Burp Suite both provide built-in browsers. You can skip the next two steps if you decide to try these built-in browsers. After launching Burp, select the Open Browser option on the Proxy tab to use Burp Suite's built-in browser. Without any further configuration, Burp will automatically route all traffic from this built-in browser. Configure Firefox Burp's built-in browser provides an easy method to start your bug search with little configuration.
On the other hand, Burp can be configured to work with your browser if, like me, you prefer to try a familiar one. Let's configure Burp to work with Firefox. Installing a proxy and downloading your browser are the first steps. Downloads for the Burp Suite and Firefox browser are available at https://portswigger.net/burp/ and https://www.mozilla.org/firefox/new/, respectively. One of the two versions of Burp Suite is used by bug bounty hunters: Professional or Community. Burp Suite Community is available for free, however, Burp Suites Professional requires a license.
A vulnerability scanner and other handy features, such as the ability to save a job, are included in Burp Suite Pro. A vulnerability scanner and other handy features, such as the ability to save and continue a work session at a later time, are included in Burp Suite Pro. In addition, it provides the Burp Invader in its entirety, whereas the community version only has a condensed version. I'm going to talk about how to use the community version of this book to find bugs.
Now you need to configure your browser to use its proxy to redirect traffic. You can configure Firefox to work with Burp Suite by following the instructions in this section. Refer to the official documentation for the other browser/proxy combination you are using for tutorials.
Open Firefox. Then, select Settings > General Network Settings to display the Connections Settings page. The Preferences tab is available through the menu in the upper right corner of Firefox.

For each protocol type, choose Manual proxy settings and enter 127.0.0.1 as the IP address and 8080 as the port. This will instruct Firefox to route all its traffic through the machine's port 8080 service. The IP address of the localhost is 127.0.0.1. It recognizes the system you are now using, allowing you to use it to access the network services that are available on it.
Burp works by default on port 8080, so this setting instructs Firefox to send all traffic through Burp. To complete the setting, click OK. All traffic will now be redirected through Burp by Firefox.

This process can be automated by means of a Firefox extension called FoxyProxy. You can find it at https://addons.mozilla.org/en-US/firefox/addon/foxyproxy-basic. It is very simple, you configure the IP as you did in Firefox, but instead of doing it in the browser, as indicated in the previous steps, you do it in the extension directly. In addition, it allows you to enable or disable the proxy with a click. Maybe now you think it's an unimportant extension. I am sure that in the future you will thank me for recommending it.
Getting things ready for Burp
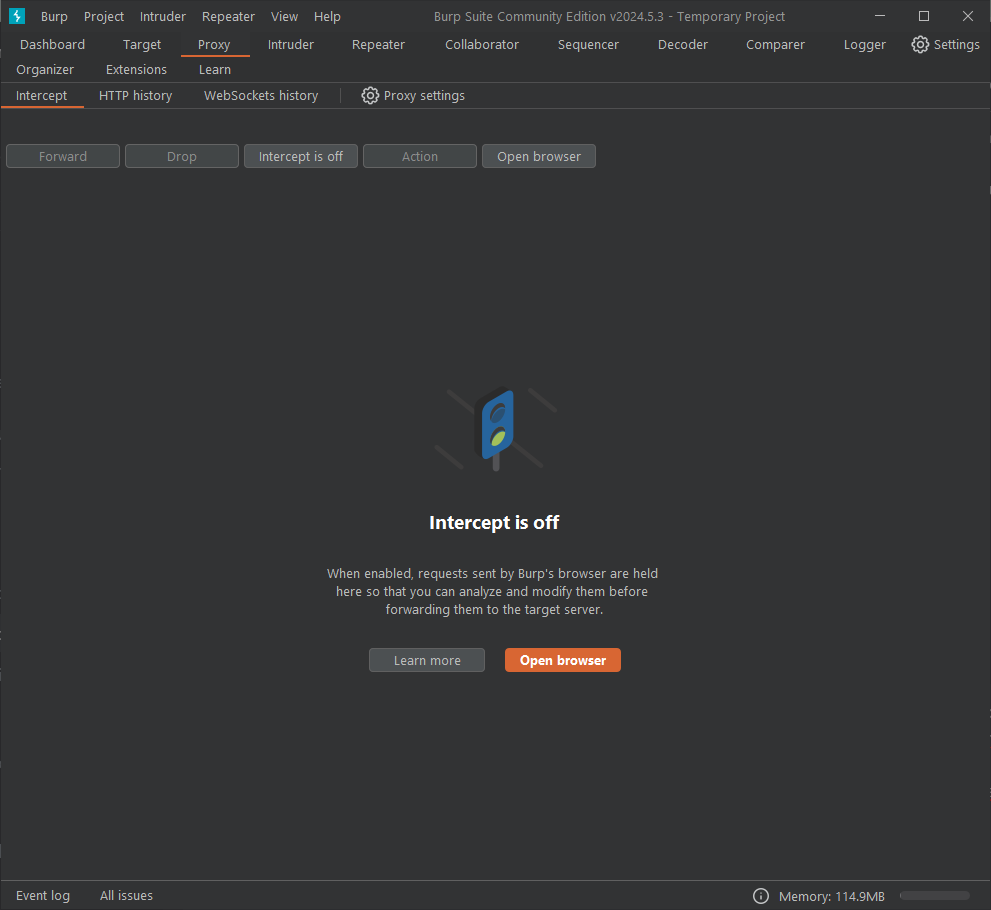
Open Burp Suite after downloading it, select Next, and then click Start Burp. There should be a window like this.
Now let's configure Burp to work with HTTPS traffic. By encrypting your traffic and limiting access to it to only the two parties involved in a communication, your browser and the server, HTTPS protects the privacy of your data. This means that HTTPS traffic entering and leaving your browser cannot be intercepted by your Burp proxy. Installing the certificate authority (CA) certificate for your Burp proxy will tell Firefox that it is a trusted entity, which will solve this problem.
Now that Firefox has the Burp certificate installed, it can work with HTTPS traffic. Open your browser and navigate to http://burp/ with Burp open and running and your proxy settings set to 127.0.0.1:8080.
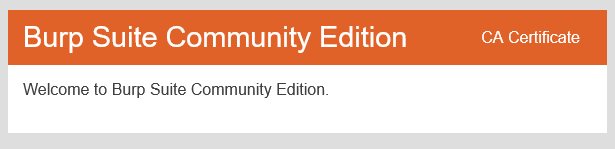
Next, select Preferences > Privacy and Security > Certificates in Firefox.
See Authorities and Certificates. After selecting the file you just saved with Import, click Open. To rely on the certificate to identify websites, according to the instructions in the dialog.
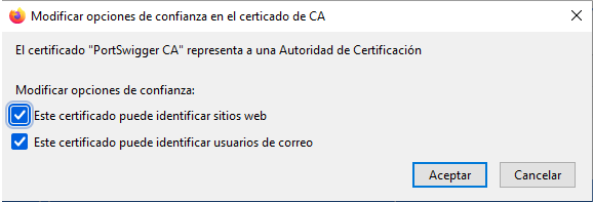
Select the Trust this CA to identify websites option in the Firefox dialog.
Restart Firefox. You should now be ready to intercept traffic over HTTP and HTTPS.
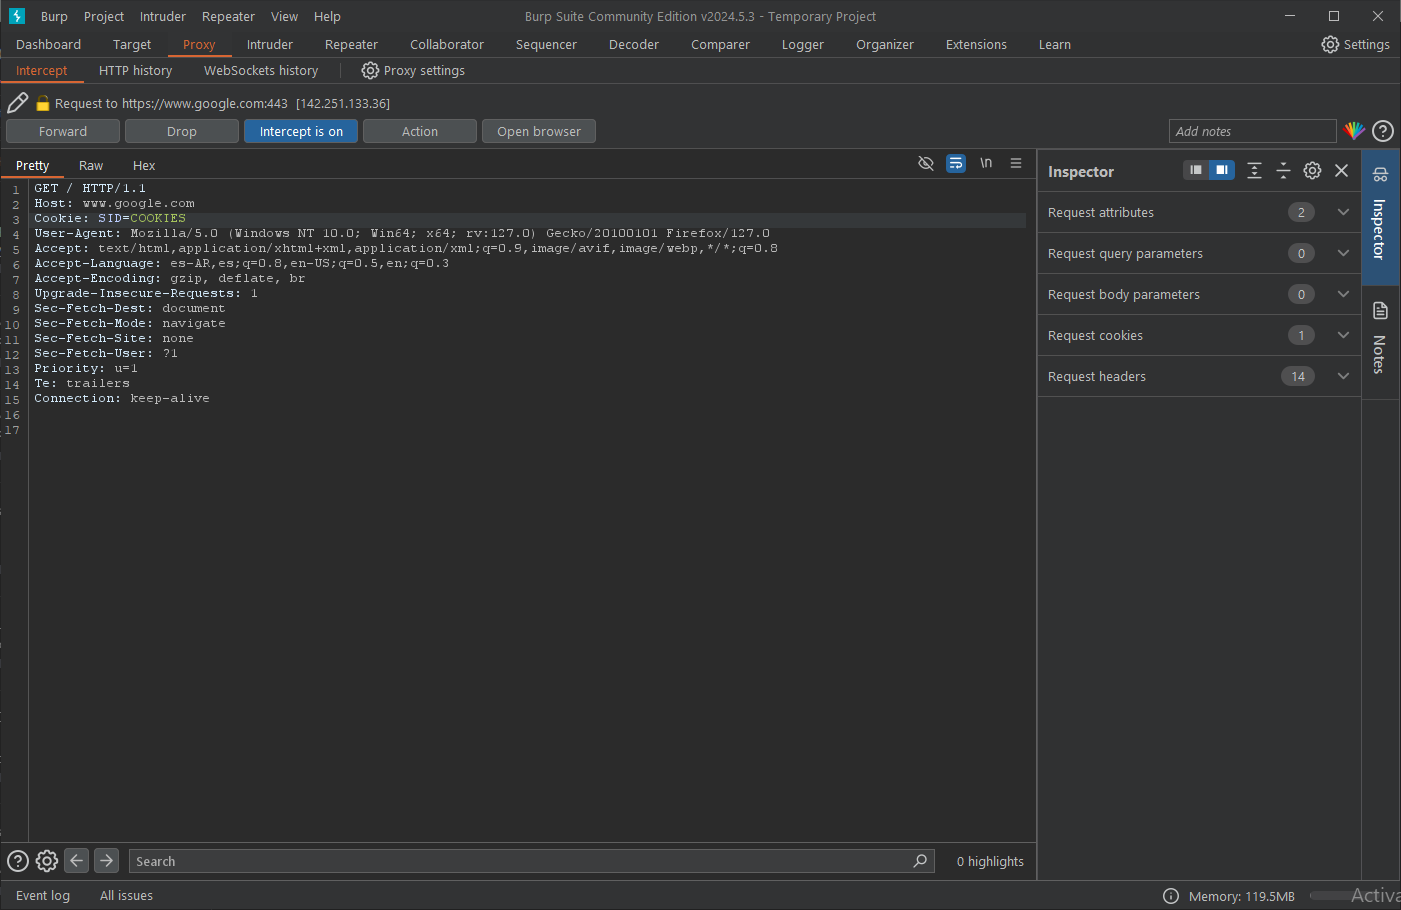
Let's perform a test to make sure Burp is working properly. Navigate to the Proxy tab in Burp and select Intercept is off to enable traffic interception. At this point, the button should say Intercept is on. This indicates that you are intercepting Firefox or embedded browser traffic.
Open Firefox after that, and navigate to https://www.google.com. You should notice that individual requests start appearing in the main Burp proxy window.
The Forward Burp Proxy button forwards the active request to the specified server. When the request with the hostname www.google.com appears, click Forward. Burp is successfully intercepting Firefox traffic if it sees this request.
This should get you started.
GET / HTTP/1.1 Host: www.google.com
To transmit the request to the Google server, click Forward. The Google home page should open in a Firefox window for you.
In the event that the requests are not displayed in the Burp window, it is possible that the Burp CA certificate has not been installed correctly. To reinstall the certificate, follow the instructions in this chapter. Also, confirm that the proxy settings in the Firefox Connection Settings are set correctly to 127.0.0.1:8080
Using Burp
The web proxy is not the only useful feature in Burp Suite. A repeater to modify specific requests, a decoder to decode encrypted content, an intruder to automate attacks, and a comparison tool to compare requests and responses are also included in Burp Suite. We will discuss these here because they are the most useful features of Burp for bug bounty
Proxy
Let's see how to inspect, edit and forward requests to other Burp modules using the Burp proxy. Explore Burp's capabilities by opening it, selecting the Proxy tab and getting started! Make sure the Intercept button is read to start intercepting traffic. The interceptor is active.
When using the built-in Firefox browser or Burp to access a website, an HTTP/HTTPS request should appear in the main window. Every request your browser makes while interception is enabled will pass through Burp before being sent to the server unless you choose to click Forward in the proxy window. This is your opportunity to change the request before sending it to the server or transmitting it to other Burp modules.
To search for strings in the requests or responses, you can also use the search box at the bottom of the window.
Let's experiment using Burp Proxy to intercept and manipulate traffic!
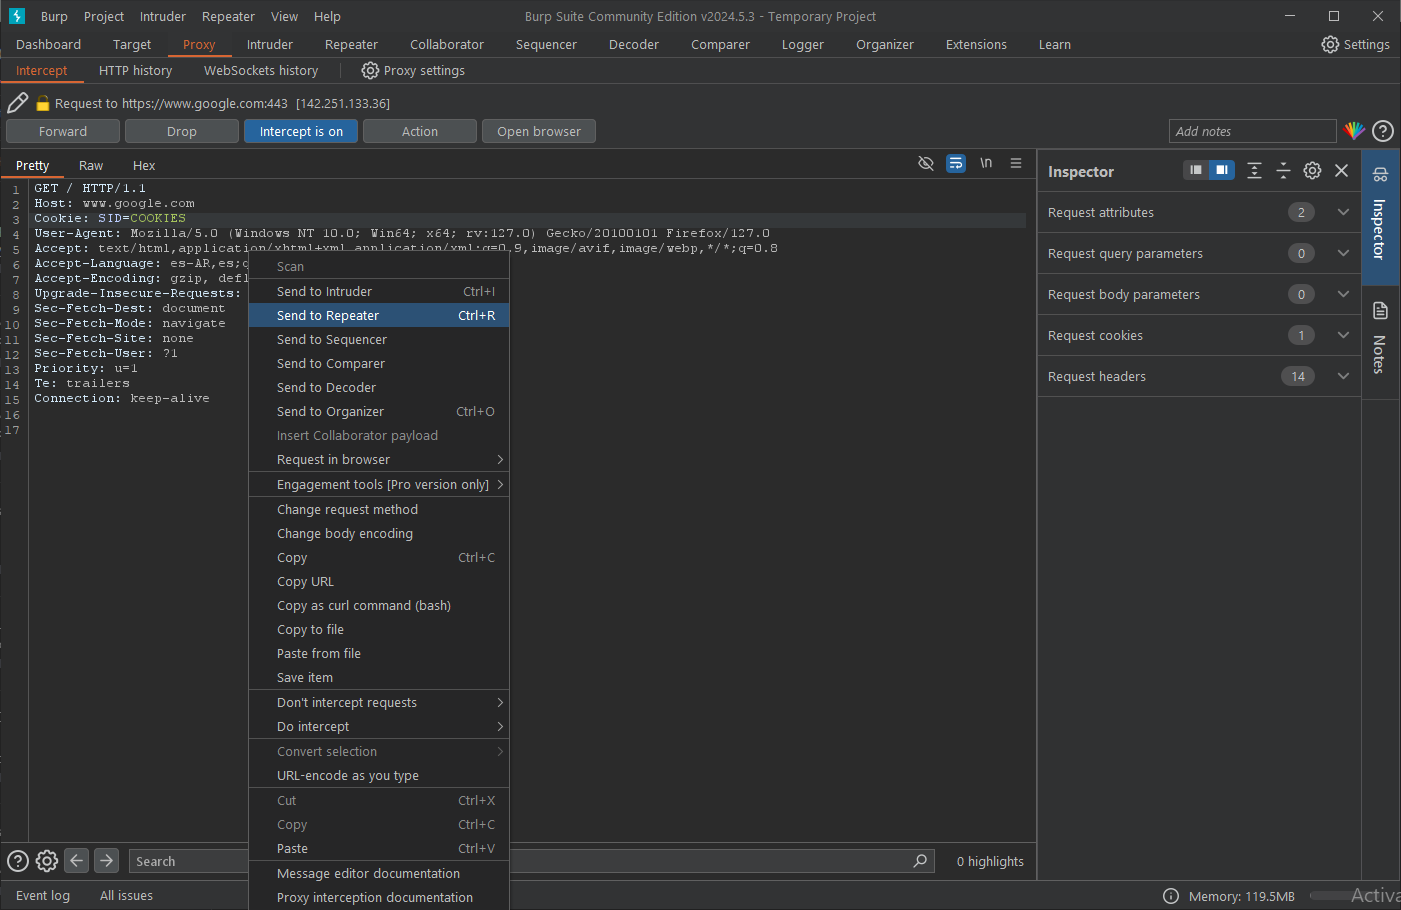
Enable traffic interception by going to Burp Proxy. Next, launch the built-in Firefox or Burp browser and go to https://www.google.com. Click Forward until you see the request with the hostname www.google.com, just as you did in the previous section. This type of request should be visible to you: By right-clicking on the request or response, you can send it to several Burp modules.
The Repeater
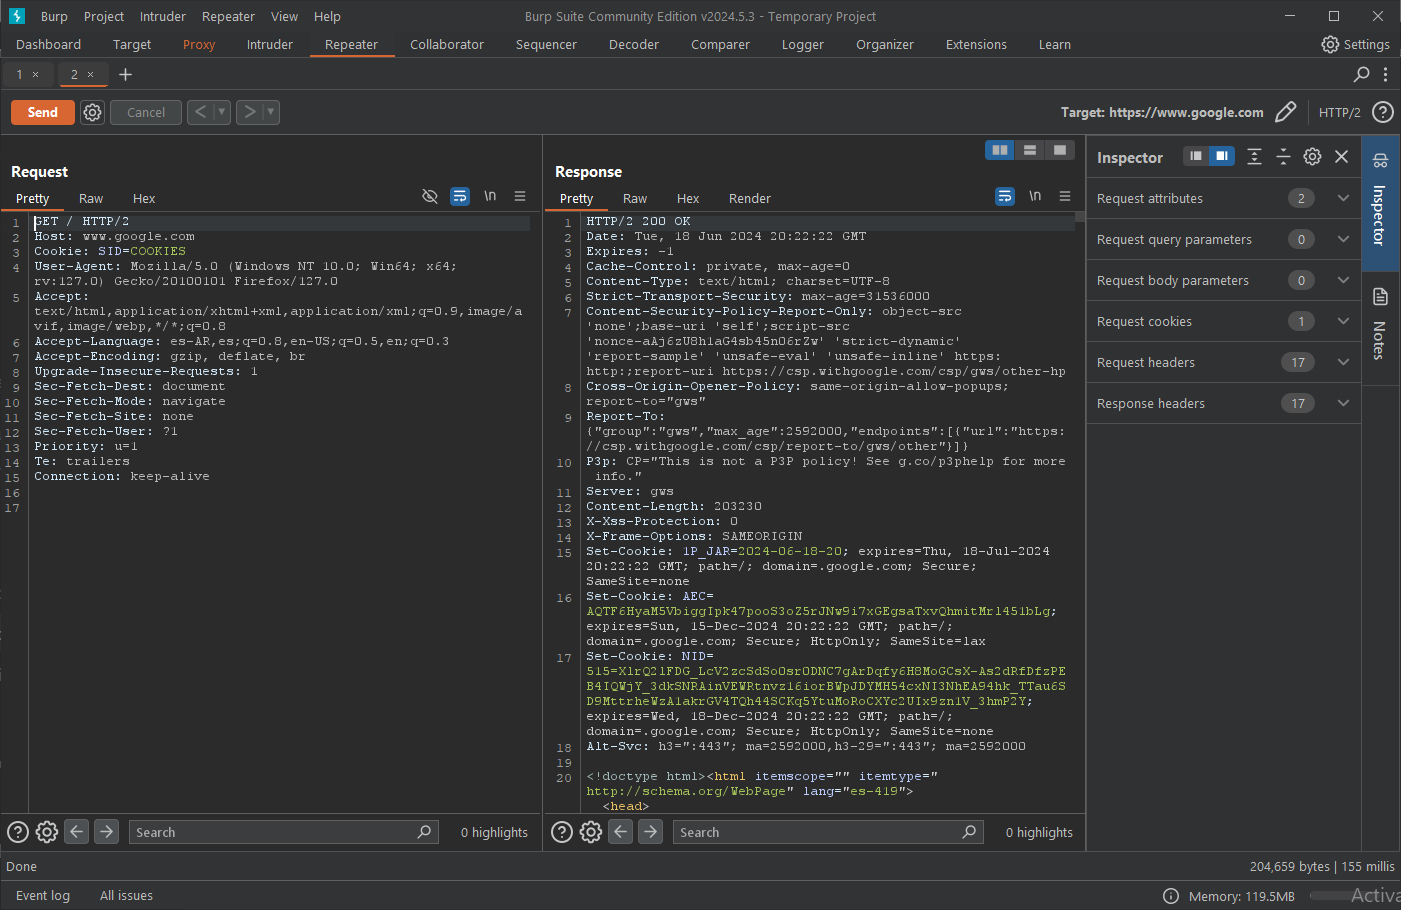
Most likely the tool you will use the most is the repeater. It allows you to change requests and thoroughly review server responses. It can also be used to save intriguing requests for later review.
While you can change requests with the repeater and the invader, their functions are completely different. By automatically delivering requests that have been mechanically modified, the hacker automates attacks. The repeater is designed for manual, in-depth changes to a single request.
By right-clicking on the request and choosing "Send to Repeater", you can send requests to the repeater, the requests are displayed on the left side of the repeater screen. Here, you can edit a request and click the Send button at the top to send the request.
The Decoder
The data found in the requests and responses can be easily encoded and decoded using the Burp decoder. I use it primarily to encode, decode, and manipulate application data before sending it to applications.
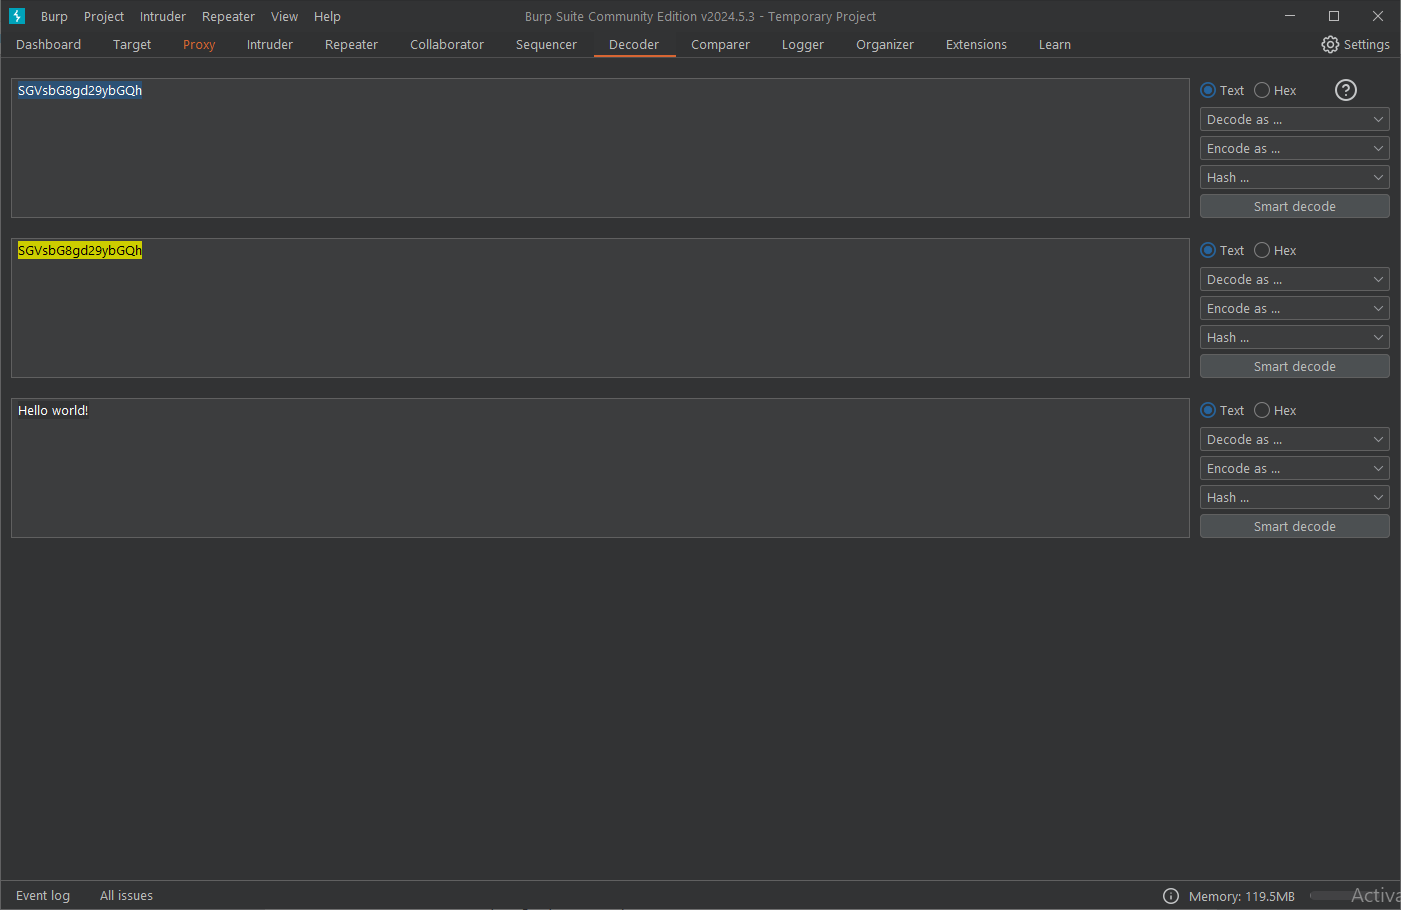
To send data to the decoder, select Send to decoder from the context menu when right-clicking on a highlighted section of text in any request or response. To choose the algorithm to be used to encode or decode the message, use the drop- -down options on the right. Use smart decoding to determine the encryption algorithm for the message if you are unsure. Burp will attempt to recognize the encryption and adjust the message decoding accordingly.
The Comparer
One method of comparing requests or responses is with the comparator. It draws attention to variations between two blocks of text. For example, you can use it to investigate how a change in parameters affects the response you receive from the server. To send data to the comparator, select Send to Comparator from the context menu when right-clicking on a highlighted section of text in any request or response.
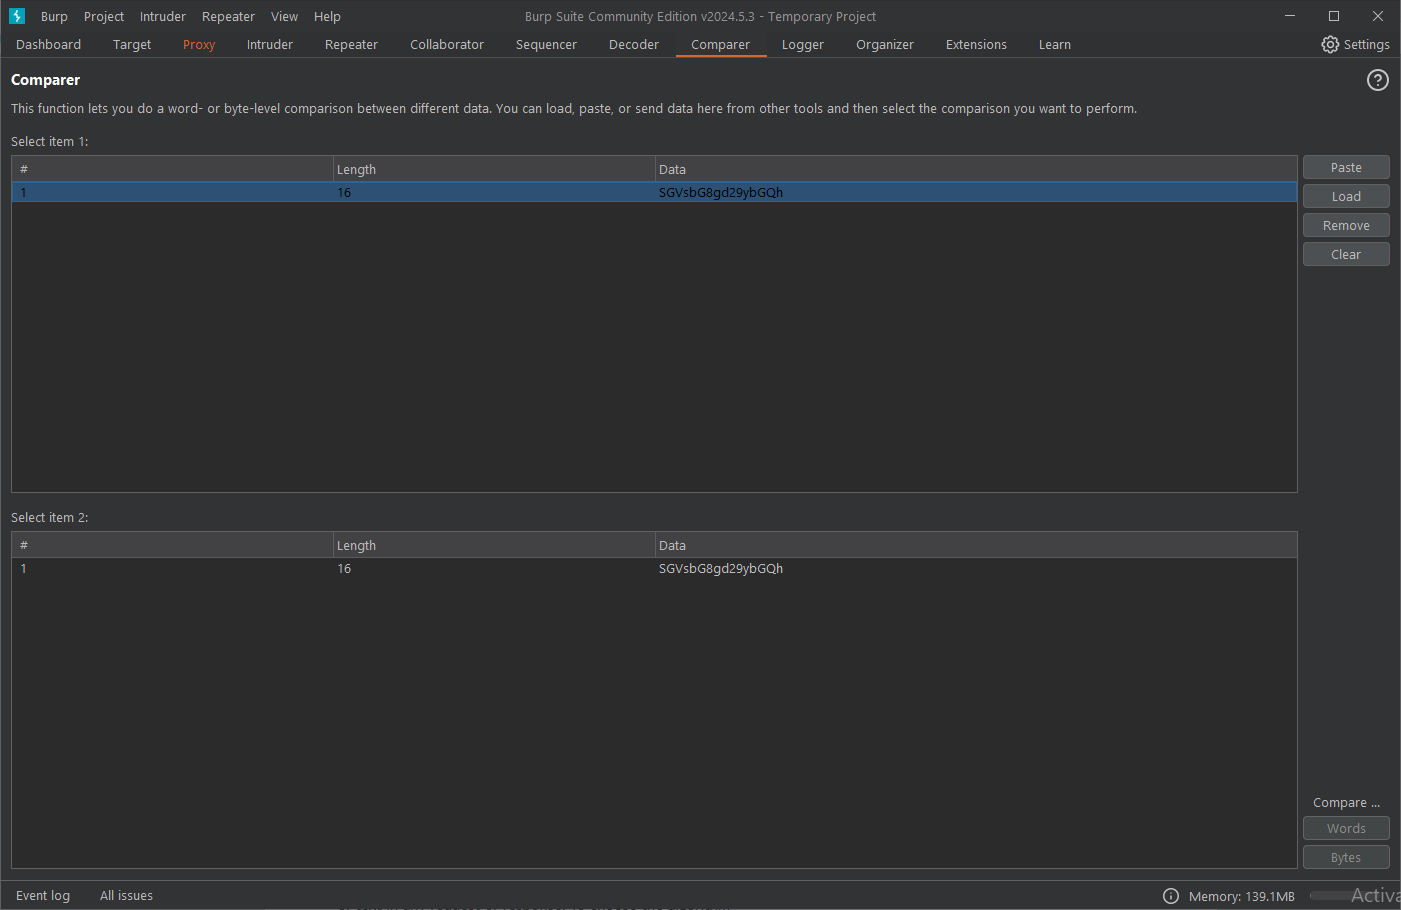
The comparison tool will indicate the variations between two text blocks.
Save Burp requests
In Burp, you can also save requests and responses. To save these results to your notes folder for that destination, simply right-click on each request and select the URL of the request that can be copied using the Copy URL option. The entire request, including the method, URL, headers and body, is copied as a curl command when using Copy as command. The request is saved as a separate file when copied to one.
Burp Extension rotate IP to avoid IP restrictions
https://github.com/RhinoSecurityLabs/IPRotate_Burp_Extension
Collab/SSRF/pingback alternative
interactsh.com
ceye.io
requestcatcher.com
canarytokens.org
webhook.site
ngrok.com
pingb.in
swin.es
requestbin.net
ssrftest.com
rbnd.gl0.eu
dnslog.cn
beeceptor.com
Run private collaborator instance in AWS
https://github.com/Leoid/AWSBurpCollaborator
Run your own collab server
https://github.com/yeswehack/pwn-machine
Wordlist from burp project file
cat project.burp | strings | tok | sort -u > custom_wordlist.txt
Autorize:
- Copy cookies from low priv user and paste in Autorize
- Set filters (scope, regex)
- Set Autorize ON
- Navigate as high privileged user
Turbo Intruder
basic.py -> Set %s in the injection point and specify wordlist in scriptmultipleParameters.py -> Set %s in all the injection points and specify the wordlists in script
Match and Replace
https://github.com/daffainfo/match-replace-burp
Customize Audit Scans
Configure your audit profile -> Issues reported -> Individual issues -> right-click on "Extension generated issues" -> "Edit detection methods"
Works on most of issues like SQLi
Send to local Burp from VPS
In local computer
ssh -R 8080:127.0.0.1:8080 root@VPS_IP -f -N
In VPS
curl URL -x http://127.0.0.1:8080
IP rotation
https://github.com/ustayready/fireprox
Happy Hacking
Author: Ayush khatkar is a cybersecurity researcher, technical writer and an enthusiastic pen-tester at Asecurity. Contact here.
#bugbounty #infosec #cybersecurity